
How to DDoS Protect your Windows server
This guide is a generic process for protecting an application or service on Windows.
Step 1. Identify what service you are trying to protect
There may be guides in this Knowledgebase specific to your application. You can use the search box above to search for specific keywords such as Bedrock. There are numerous Linux tutorials as well, these may be useful in advisory capacity for Windows server operators regardless of target Operating System. If you can find a specific tutorial we recommend following the steps we have provided for you, these are well tested instructions.
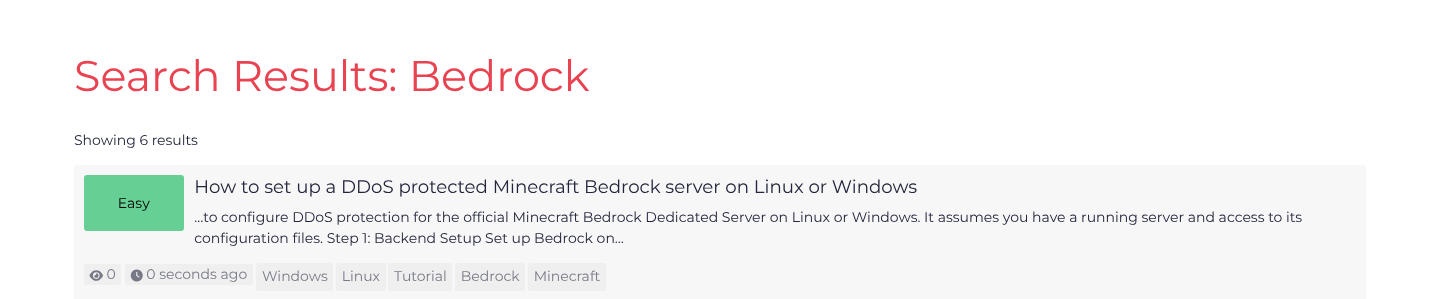
Not all guides are platform specific, if you are looking to protect a website or web service (e.g API) we recommend following the platform independent Website setup guide.
If you can not find a specific tutorial we still recommend reading some of the examples provided for a general guide. The primary difference between guides is the service port numbers (which will be specific to your service / application).
Step 2. Identify what method of protection you require
If your application / game makes outgoing connections (such as to register with a game server operator or list service) then will require a GRE/IP-in-IP tunnel. This technology is required to make outgoing connections with the provided filtered IP. If your application purely acts on incoming connections you may choose either the tunnel (encapsulated) method, or the simpler Reverse Proxy method.
If you wish to use a tunnel, open Services, find your service, and choose Action > Tunnels. Click Add Tunnel, choose GRE in Tunnel type, enter the public Backend address, and click Save. Configure at least one port referencing the tunnel before installing it.
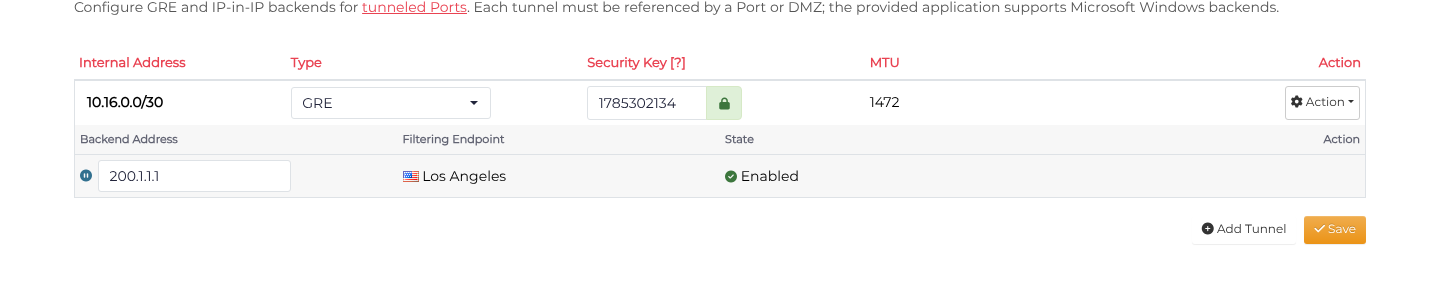
On Windows Tunnels are less easily supported than on Linux, if your application requires a Tunnel and supports both Operating Systems we strongly recommend you consider using Linux. We have a guide on setting up a GRE/IP-in-IP tunnel on Windows which should be carefully followed when persuing this method. No tunneling application setup is required for Reverse Proxy methods.
Step 3. Identify the ports your application / service uses
It is recommended that you specify the ports you wish to protect explicitly ("Port" type filtering). You can identify the ports that your service is using using netstat (netstat -a). You can also use a GUI tool like Process Explorer to identify the ports in use by a given application.
Forward the TCP and UDP ports required by your application. For example, a Valve / Half-Life server listening on port 27015 can use one A2S entry for UDP game and query traffic and a separate TCP entry on that port. Replace this example with your application's actual ports and protocol profiles. Open your service's Action > Ports page and select Single Port. Click Add port manually when Add your first port is shown; otherwise click Add Port. Enter Port start, choose Protocol, and select Reverse Proxy with the Backend address and Backend port, or the available Encapsulated method with your tunnel. Click Save after each new entry and check the saved rows.
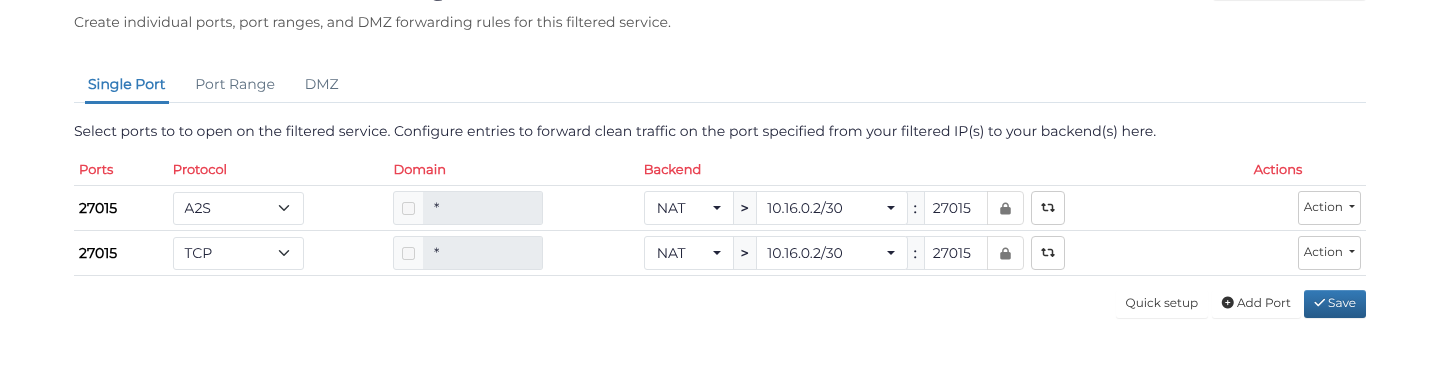
You should also ensure that the ports your application uses are allowed through the Windows Firewall.
Step 4. Setup
After saving a port that uses your tunnel, return to Tunnels and choose its Action > Setup Tunnel. Select Linux / BSD > Download Tunnel Script or Microsoft Windows > Download Application for your backend. Install the downloaded file using the linked instructions. For general advice on the operation of tunnels see the page on Tunnels and the Windows tunnel guide. Once your tunnel is installed and you have verified that communication is sane over the tunnel proceed.
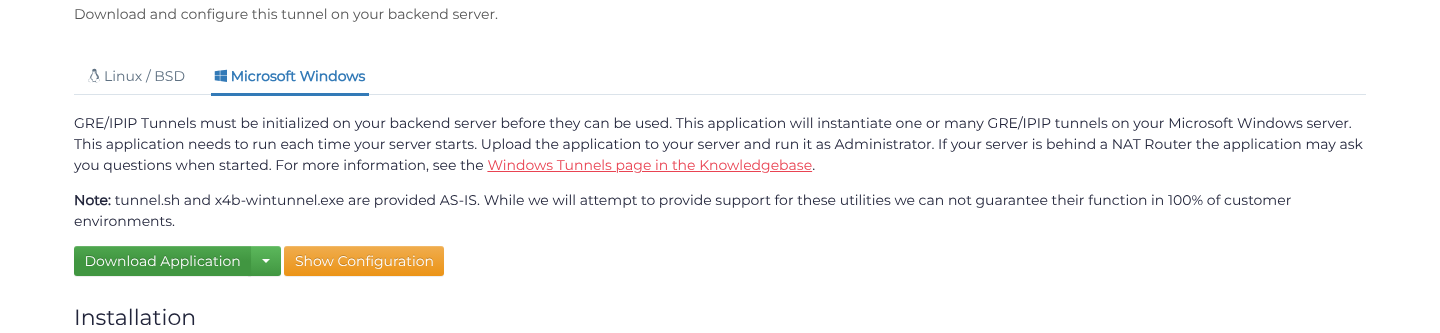
For a Reverese Proxy setup no specific configuration of your backend server is required. You will of course however want to ensure that there is no firewalls or similar software that may interfere with communication from the backend communication IP we have provided you and your service.
Step 5. Tunnel Specific: Check your application bindings
If using a tunnel you will want to ensure that your application is bound to the tunnel IP.
NOTE: While binding to 0.0.0.0 may work depending on your application it is generally advisable to explicitly bind services.
To bind your application consult its documentation. This option may be known as the listen ip, server ip or main ip. Some applications may supply this via configuration file or via an argument. For hlds based servers for example there is the -ip <INTERNALIP> parameter.
Next, if your service makes outgoing connections (for example self-registration with a server list) you should verify that these connection or packets are sent over the tunnel. The IP binding you have done previously should cover this. However some applications are not well written and will instead transmit packets over the servers primary interface regardless of configuration. You can check that outgoing connections (TCP) are made over the tunnel using netstat and that outgoing packets (TCP or UDP) are forwarded over the tunnel using Wireshark.
If your application does not support binding configuration, or missbehaves with outgoing connections you may want to use ForceBindIP to override your applications behaviour. This will force communication over the tunnel regardless of the applications coded behaviour.
Step 6. Check your application
Check that your application is accessible over your filtered IP. This can usually be accomplished by connecting the same way you would normally with your client (or web browser). You should check that communication is occurring over the provided filtered IP and that your backend server IP is not leaked anywhere.
