
This guide configures X4B protection for Valve game servers on Linux. Half-Life Dedicated Server (HLDS) runs GoldSrc games, while Source games use Source Dedicated Server (SRCDS). The installation and launch examples below use SRCDS for games such as Counter-Strike: Source (CS:S), Day of Defeat: Source, Garry's Mod and Team Fortress 2 (TF2). Check your own server's listeners when configuring its ports. For information on common attacks and available mitigation, see Application / Layer 7 protection.
Step 1: Tunnel Setup
Open Services, find your service, and choose Action > Tunnels. Click Add Tunnel, select GRE in Tunnel type, enter your public Backend address, and click Save. If you already have a suitable tunnel, use it instead. See tunnel setup for installation requirements.
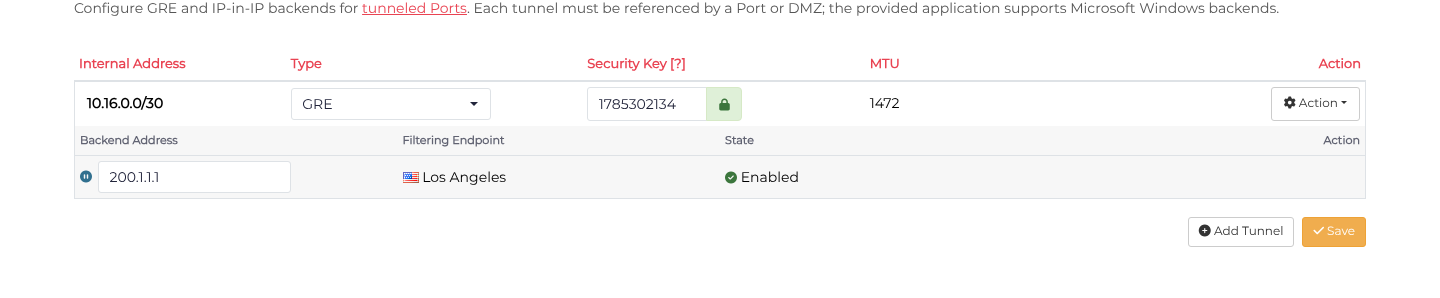
X4B Ports
Add a port for your server, forwarded to the GRE Tunnel. You can often identify this port using netstat:
# netstat -lnp | grep srcds_linux
tcp 0 0 10.17.22.2:27015 0.0.0.0:* LISTEN 6305/srcds_linux
udp 0 0 10.17.22.2:26901 0.0.0.0:* 6305/srcds_linux
udp 0 0 10.17.22.2:27005 0.0.0.0:* 6305/srcds_linux
udp 0 0 10.17.22.2:27015 0.0.0.0:* 6305/srcds_linux
udp 0 0 10.17.22.2:27020 0.0.0.0:* 6305/srcds_linux
In this case the UDP ports 26901, 27005, 27015 and 27020 are required. The TCP port 27015 is also required.
Open your service's Ports page. Under Single Port, click Add port manually when Add your first port is shown; otherwise click Add Port. For each required listener, enter its Port start and Protocol, choose the available Encapsulated backend method, and select your GRE tunnel. Click Save after each entry. Configure UDP 26901, 27005 and 27020, A2S 27015 for the query listener, and TCP 27015 separately.
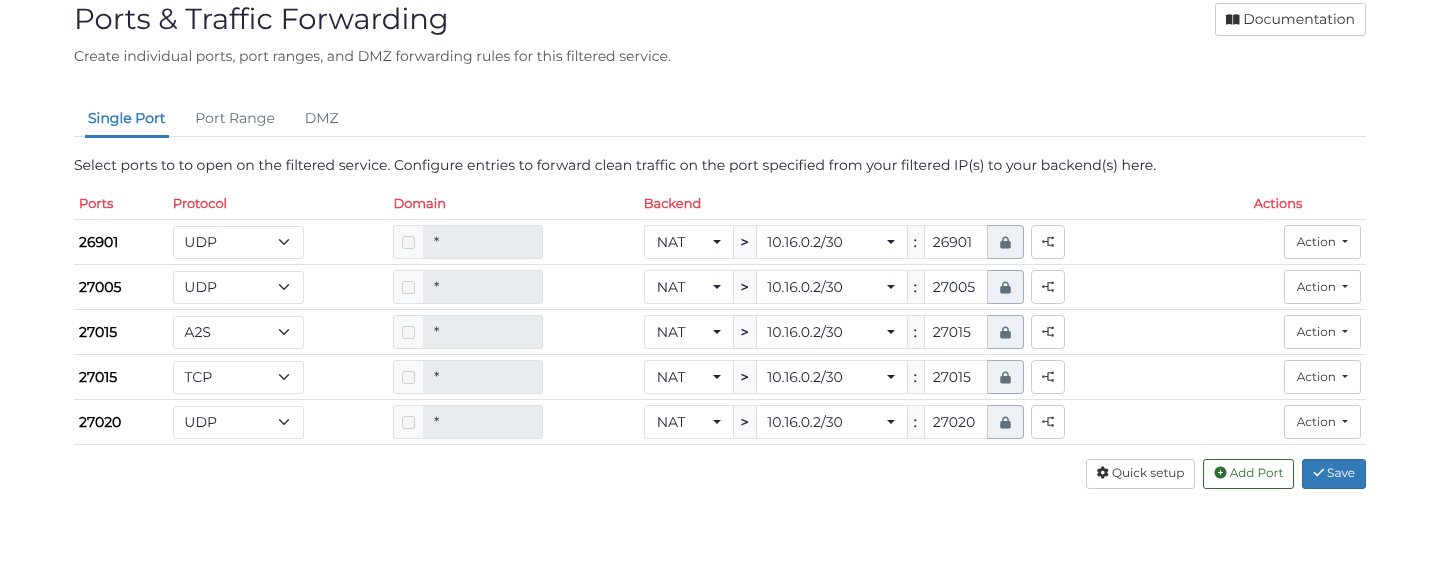
Use A2S for the game's UDP query listener; it includes mitigation for A2S query floods. Keep the separate TCP listener as TCP.
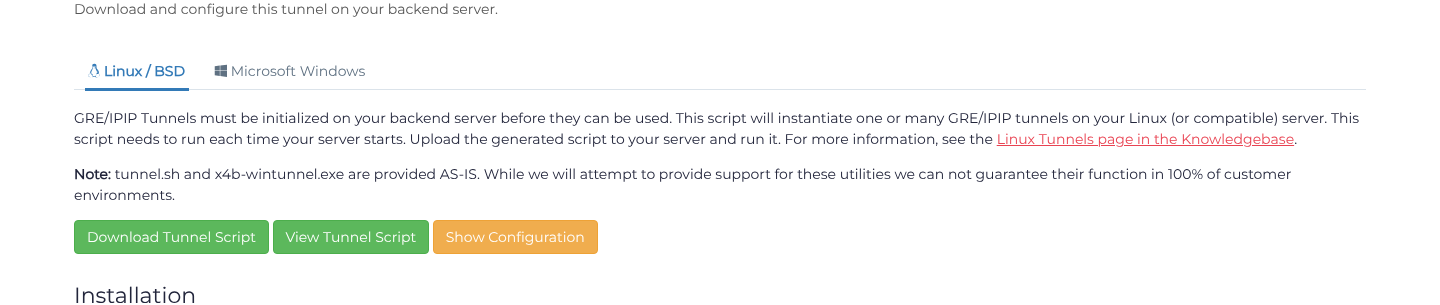
After saving the ports, return to Tunnels and choose Action > Setup Tunnel for the tunnel. Select Linux / BSD > Download Tunnel Script. Install the downloaded script and arrange for it to run before the game server at boot.
Step 2: SteamCMD prerequisites
The package commands below are for Debian 13 (trixie) on amd64/x86-64, using the manual SteamCMD installation in Step 3. Install the 32-bit runtime libraries as root:
apt-get update
apt-get install lib32gcc-s1 lib32stdc++6
Debian provides 32-bit GCC support and 32-bit C++ support in these packages, with the required 32-bit C runtime pulled in as a dependency. The old ia32-libs package was replaced by Debian's multiarch support.
For another distribution or release, follow Valve's SteamCMD Linux installation instructions for its prerequisites and installation method. Individual games may require additional libraries; check the selected game's server requirements before continuing.
Step 3: Downloading SteamCMD
Follow the instructions for downloading SteamCMD on Linux: https://developer.valvesoftware.com/wiki/SteamCMD#Linux
Step 4: Install Game Server
Follow the instructions for downloading the Game Server on Linux: https://developer.valvesoftware.com/wiki/SteamCMD#Linux_2
A list of Steam AppID's can be found at: https://developer.valvesoftware.com/wiki/Dedicated_Servers_List
Common Games
To download Counter Strike Source:
app_update 232330 validate
To download Garry's Mod:
app_update 4020 validate
Step 5: Running the server
Change directory into the installed game directory. Use the account that installed the server and replace this example location if you chose a different game installation directory in SteamCMD:
cd "$HOME/Steam/steamapps/common/Counter-Strike Source Dedicated Server"
Run the game server
Counter-strike Source:
./srcds_run -game cstrike +maxplayers 20 +map de_aztec -ip <INTERNALIP>
GarrysMod:
./srcds_run -game garrysmod +maxplayers 20 +map gm_flatgrass -ip <INTERNALIP>
Where
ip addr | grep 10.17.
Step 6: Further Setup
Add the game server to your init system to run on boot. Ensure the game is started AFTER the tunnel setup script.
